Start your own website with a finished design
A practical path from choosing a design to replacing text, photos and links, keeping editable backups and publishing your first small site.
Published
Edited by Lumitoha Team · Updated
About 4 min read
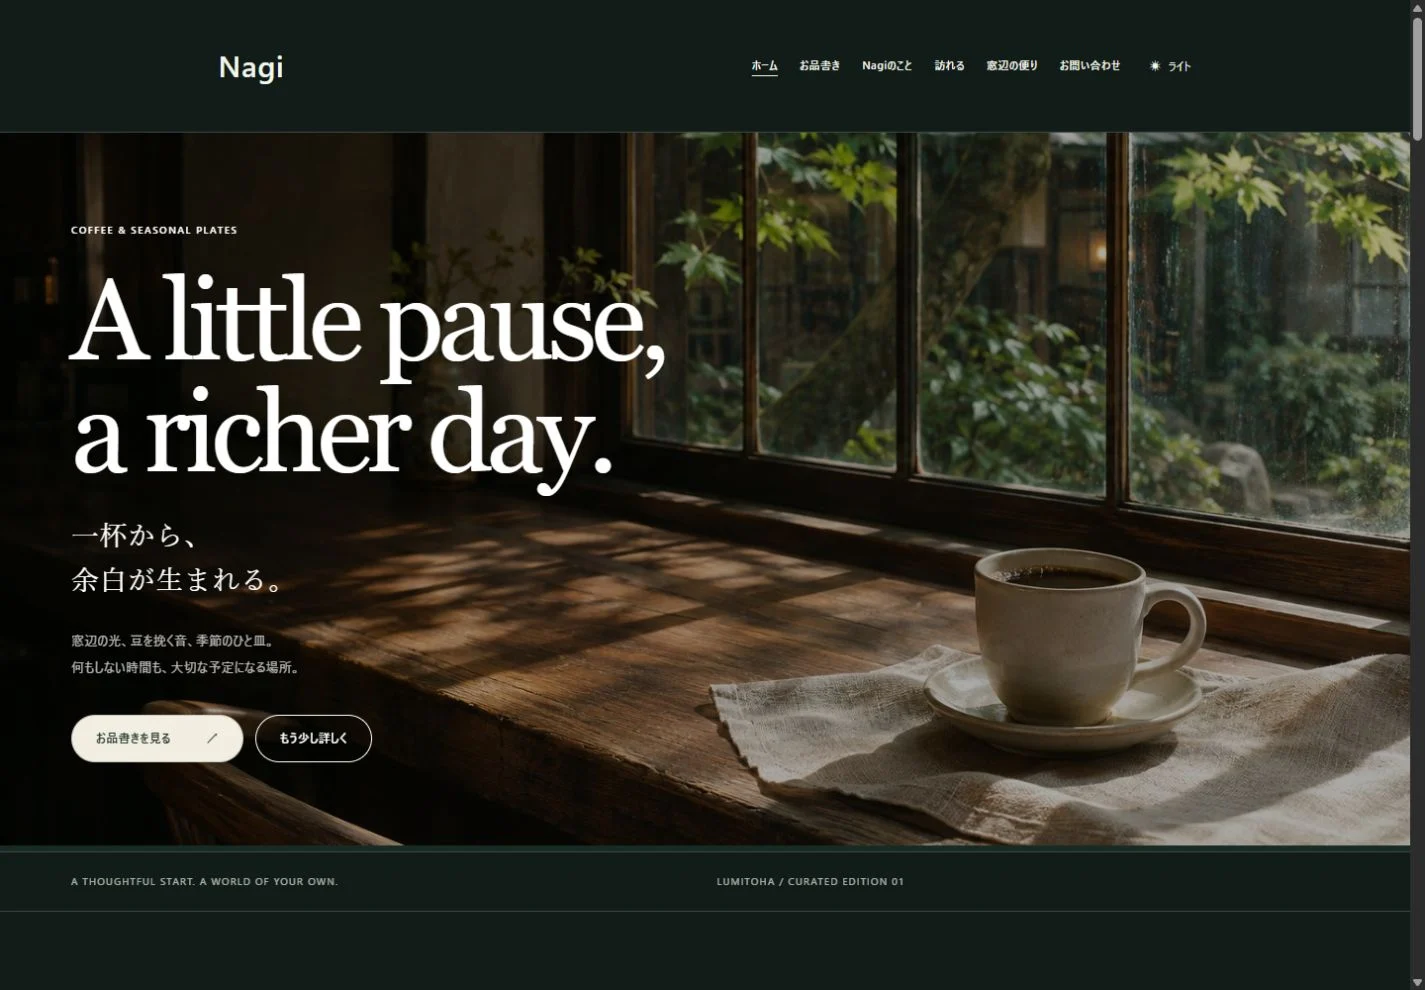
Before choosing a finished website design, decide who you want to reach, what they need to know and what they should do next. Then replace the headline, introduction, photos and links with your own material. Working in that order helps the design and the information grow together.
Lumitoha is a Windows website builder for editing pages and blog posts, then exporting HTML or a ZIP for your hosting service. Here is a practical way to turn a finished design into a small website of your own, without having to begin with an empty page.
1. Give your website a one-sentence purpose
“I want more people to know about us” is a beginning, but it does not set priorities. Try something more specific: “Help first-time visitors understand our café and check its opening days,” or “Show potential clients my work and how to discuss a project.” Combine an audience with an action.
Keep that sentence nearby when deciding what to add. Is the main subject a menu, a collection of work or a journal? Ask whether each proposed section helps someone find the information they came for. You do not need many pages at the start. A useful introduction, an explanation of what you offer and a clear contact route can be enough.
2. Compare the structure, not only the photos
When browsing designs, notice what you see first, how much explanation fits comfortably and where you can go next. A large typographic opening feels different from an article-led layout, even with the same photographs. Look for a structure that suits the material you actually have.
The official gallery introduces 13 finished designs. Nagi is free to use; using Yoha, Sui and the other finished designs requires Pro. You can preview all of them for free. A sample from another industry may still offer the right image sizes, reading rhythm and amount of space for your own content. These are fictional examples, not real businesses or customer projects.
3. Replace the headline and short introduction first
A memorable phrase works best when visitors can also tell what the website is about. A headline such as “A little pause in your day” could be accompanied by a concrete description: “A neighborhood café serving roasted coffee and seasonal baking.” Give people both a feeling and a useful answer.
The introduction does not have to contain your entire story. Explain who the site is for, what you offer and one or two relevant characteristics. Longer background can live on an About page. Replace sample details as soon as you can, particularly hours, prices, addresses and contact information. Do not fill unknown details with plausible-looking facts; leave them out or clearly say they are being prepared.
4. Give each photo and section a role
The opening image might convey atmosphere, while another explains a product or shows a making process. If several photos do the same job, choose the strongest one before adding more. Check the crop at different widths so that an important face, object or sign is not cut off.
You do not need every section from the sample. If you have no real customer feedback, omit the review section rather than inventing comments. If there is no team to introduce, give that space to information you can explain. Add concise image descriptions that say what is shown, rather than leaving camera filenames as the explanation.
5. Connect the pages and save editable work
Check every button’s destination. “View prices” and “Explore the portfolio” give visitors more useful expectations than an isolated “Click here.” Imagine someone becoming interested halfway down the page: can they continue without repeatedly returning to the menu?
Save an editable JSON file so you can continue working later. This serves a different purpose from the exported HTML or ZIP. Keep both, and give important versions a date or short description. A saved copy from before a major change also gives you a useful reference when comparing layouts.
6. Treat your first publication as a small milestone
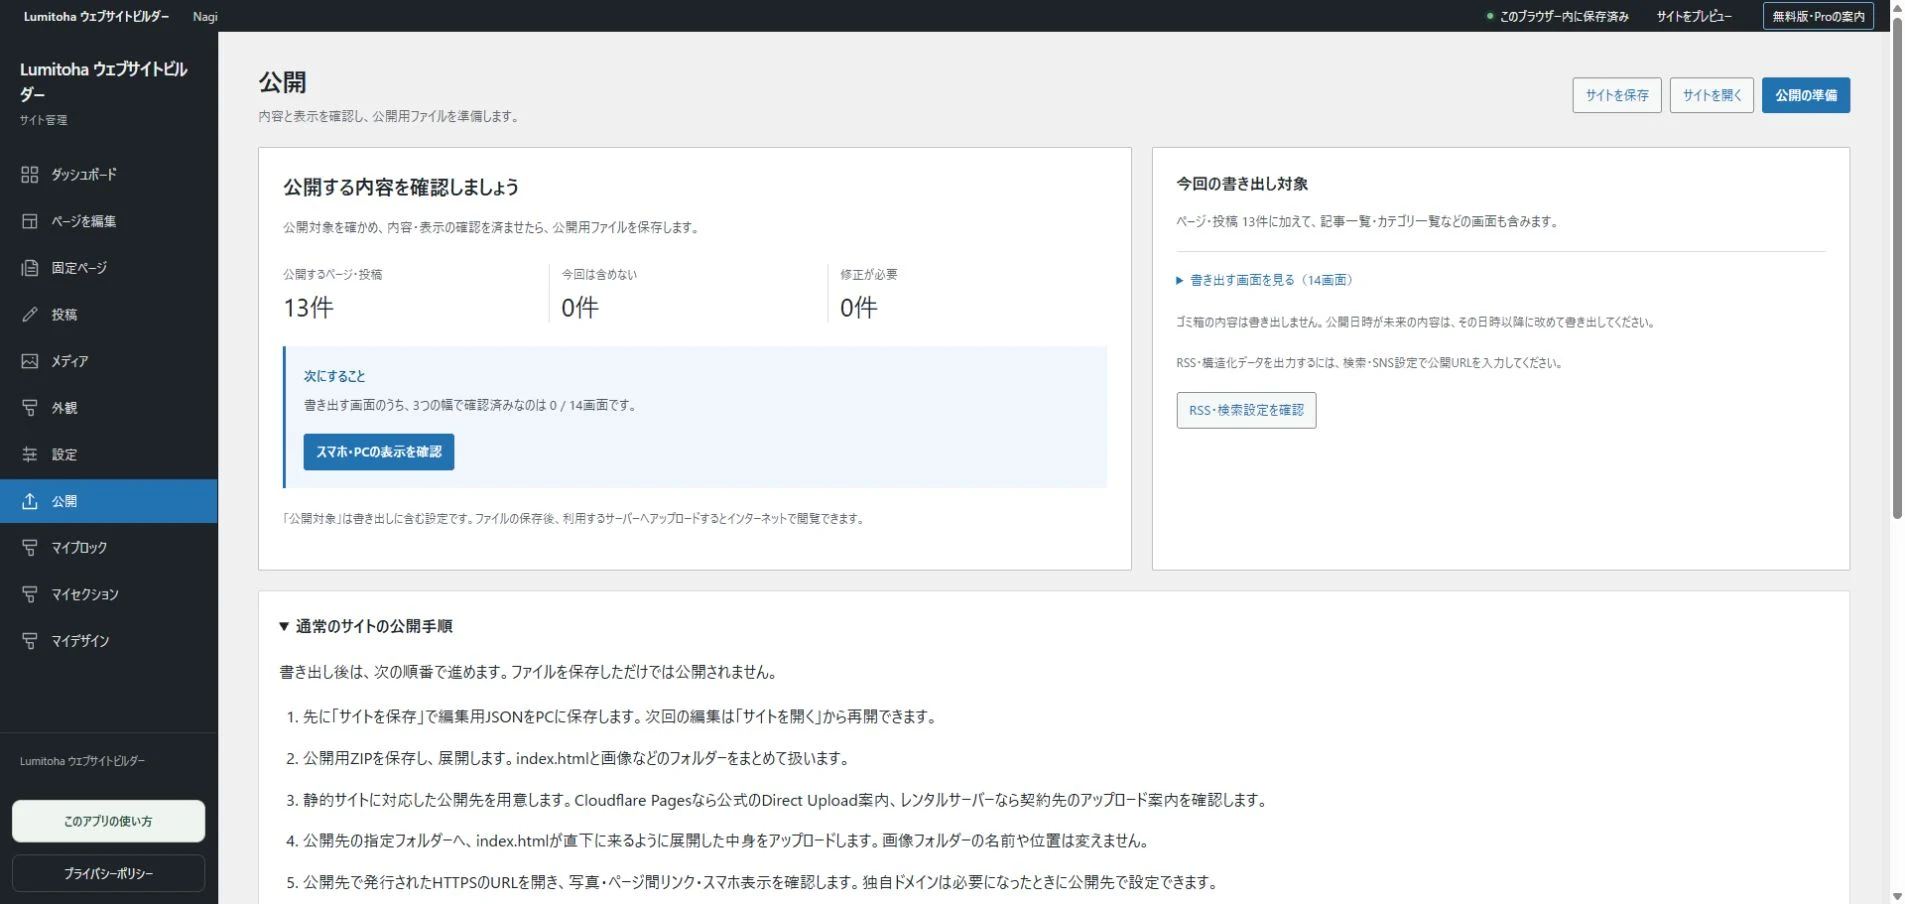
Before exporting, prioritize accurate information, readable mobile layouts and working links. Use Lumitoha’s previews and pre-publication checks, then mark the pages and posts you want as publishing targets. Finished samples begin as drafts; drafts and pages with future publishing dates are not included in that export.
Publishing requires a separate hosting service. Export the files, extract the ZIP if necessary and upload the HTML and assets using your host’s dashboard or another transfer tool. Open the real URL afterward. One useful page is a worthwhile beginning; you can return, refine and add to it over time.
Give your photos room to breathe
Image roles, whitespace, cropping, readable overlays and helpful captions: six ways to make photos and words work together.
Read moreA thoughtful checklist before you publish
Review facts, headings, links, mobile layouts, publishing targets and backups, then check the website at its actual public address.
Read moreGetting started with Lumitoha
From a finished design to saved work and public files.
Read moreShare this article
Share on Instagram
Copy the link and paste it into a Stories link sticker or a direct message.
Open Instagram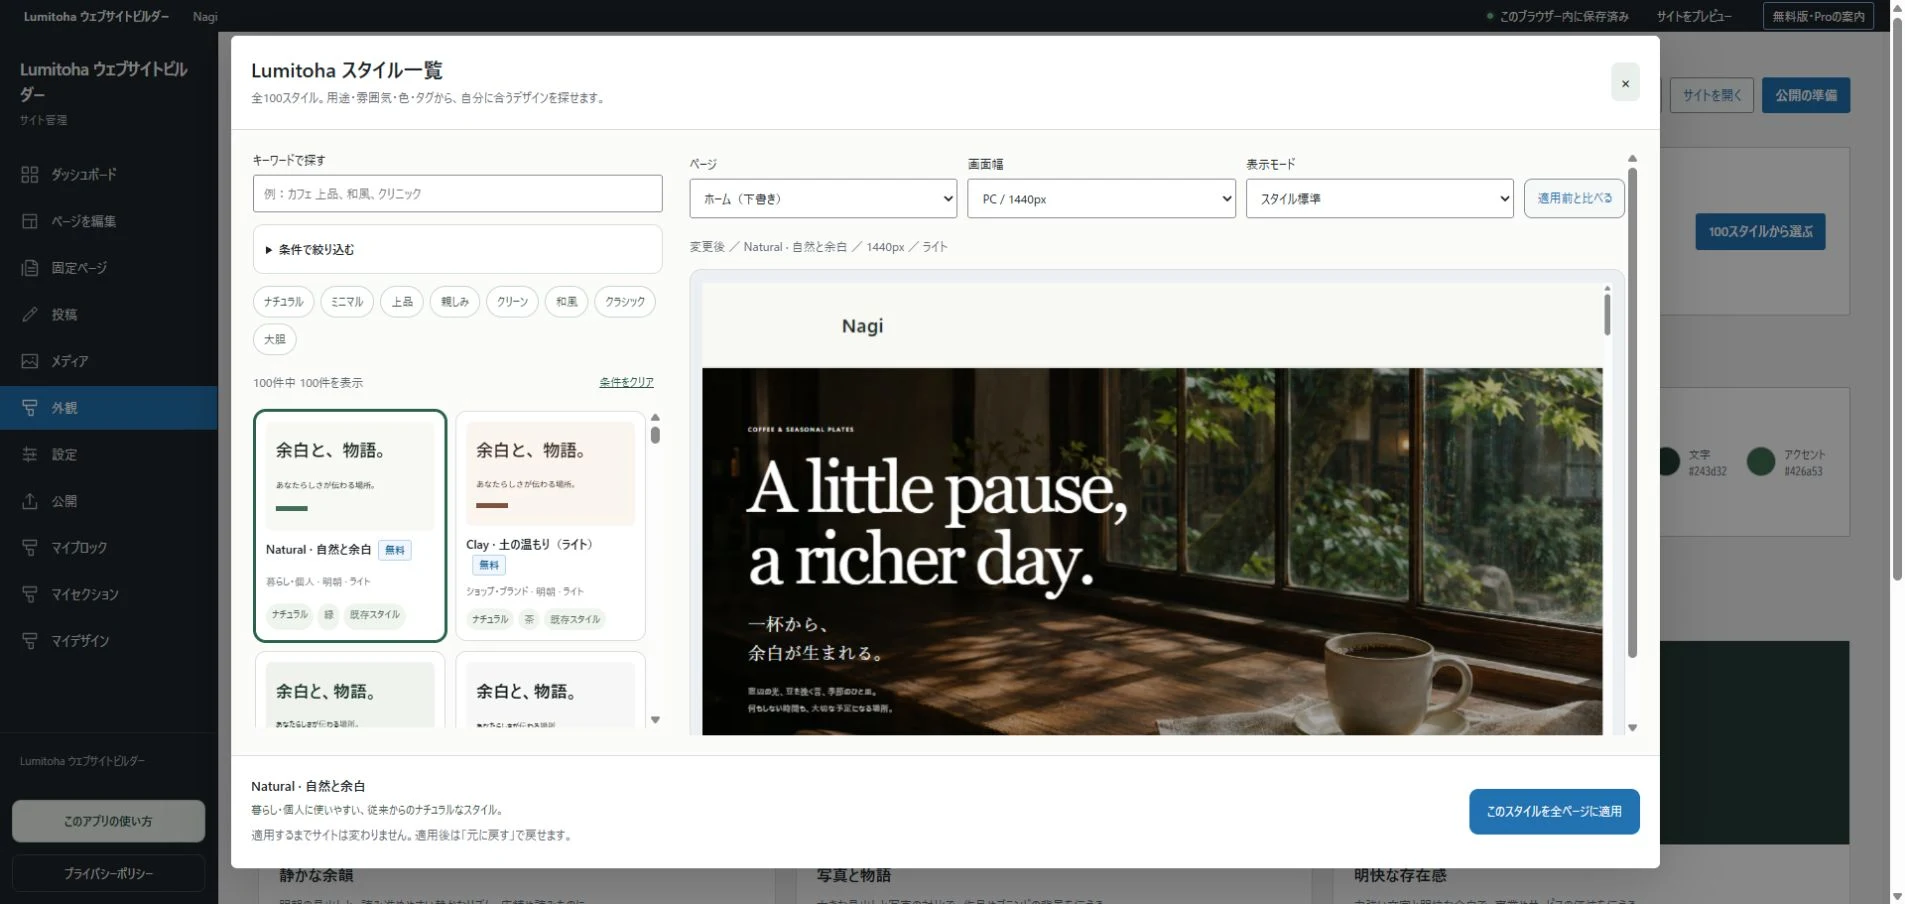
Comments
Your display name and comment appear after approval. Your email address is not public. Please read our privacy policy.
Comments (0)